
RO Faucet Installation: Step-by-Step Guide for Cape Coral
You're standing at the kitchen sink in Cape Coral with a new RO faucet in a box, a soap dispenser you never use, and a well system you don't fully trust for drinking water. The faucet looks like a Saturday project. I would not start there. A successful RO faucet installation begins with the whole-house reverse osmosis system behind it, because sizing, water testing, certification, and drain capacity decide which faucet you should buy in the first place.
Whole-House RO Efficiency Numbers to Check First
Reject water is the trade-off you have to price before you drill anything. Reverse osmosis splits incoming water into treated water, called permeate, and concentrate that carries rejected dissolved solids to the drain. Every gallon you drink from that faucet required more than a gallon at the inlet, and a whole-house system multiplies that math across every shower, tap, and appliance it serves.
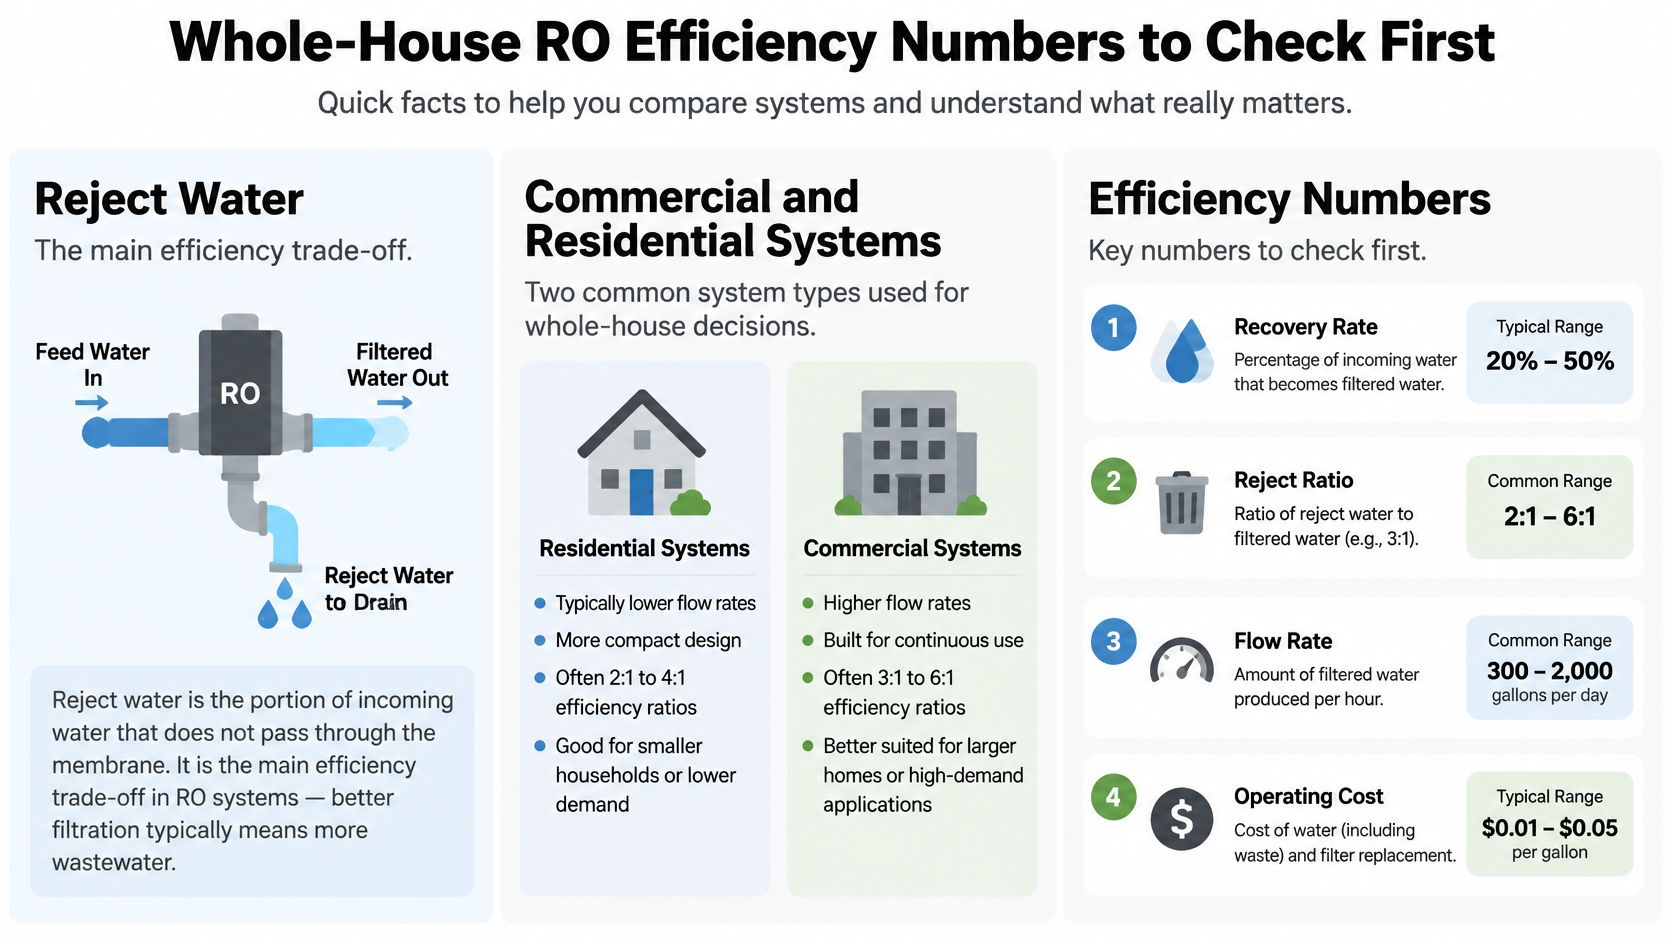
The EPA WaterSense commercial guidance reports that commercial and institutional RO units typically recover 50% to 75% of incoming feed water as treated permeate. At 50% recovery, you need about 2 gallons of feed water for 1 gallon of treated water. At 75% recovery, you need about 1.33 gallons. That same specification sets a minimum efficiency rating of 30% for point-of-use RO, which gives you a floor, not a target.
What Point-of-Use Numbers Tell a Whole-House Buyer
Small under-sink units show you how bad inefficiency gets when nobody checks the rating. The EPA WaterSense point-of-use RO page reports that a typical point-of-use RO unit can discharge at least 5 gallons of reject water for every gallon of treated water, and inefficient models can discharge as much as 10 gallons per gallon produced. WaterSense-labeled units must demonstrate no more than 2.3 gallons sent down the drain per gallon of treated water.
EPA estimates replacing a typical unit with a WaterSense-labeled model can save more than 3,100 gallons annually and about 47,000 gallons over the system's lifetime. Scale that thinking up to a whole house and the purchase price becomes the smallest number in the conversation. I would judge any proposal first on documented recovery, then on price.
| System type | Feed water per gallon treated | Reject water per gallon treated | Reference |
|---|---|---|---|
| Commercial RO at 50% recovery | 2 gallons | 1 gallon | EPA WaterSense commercial guidance |
| Commercial RO at 75% recovery | 1.33 gallons | 0.33 gallons | EPA WaterSense commercial guidance |
| WaterSense-labeled point-of-use RO | 3.3 gallons | No more than 2.3 gallons | EPA WaterSense point-of-use specification |
| Typical point-of-use RO | At least 6 gallons | At least 5 gallons | EPA point-of-use RO guidance |
| Inefficient point-of-use RO | Up to 11 gallons | Up to 10 gallons | EPA point-of-use RO guidance |
Why This Hits Cape Coral Homes Harder
A Cape Coral home on a private well pays for reject water twice. Your well pump cycles to supply feed water nobody drinks, and your septic system or drain field receives the concentrate. If you're on municipal supply, you pay for that extra volume on the water bill and again on sewer charges tied to usage.
That's why a whole-house reverse osmosis system has to be sized from a water analysis and your actual daily demand, not from a catalog rating. Ask three questions before you commit to equipment:
- Recovery at your conditions: What's the rated recovery at your feed water's total dissolved solids and temperature, not at ideal lab conditions?
- Reject management: Where does concentrate go, and can your drain and septic handle that volume every day?
- Tested claims in writing: Which contaminants was this configuration tested against, and under what conditions?
Practical rule: If a proposal quotes treated gallons per day but won't state feed gallons per day, you don't have a complete proposal yet.
Order the water analysis first, whether your source is a private well or city supply. Match rated flow to peak household use, because a whole-house membrane that's undersized will run constantly and still leave you waiting on storage. Book a sizing review before you buy equipment, and let the faucet choice follow the system design rather than lead it.
Hole Sizes and Parts to Confirm Before Drilling
Measure before you order. The hole in your sink deck decides which faucets fit, and the deck thickness decides whether the mounting hardware can clamp the faucet down flat. Guessing either number is how a one-hour mount turns into a returned faucet and a patched countertop.
Start with three measurements. Measure the hole diameter across the opening, not the trim ring sitting on top of it. Measure the deck or countertop thickness from underneath where the mounting nut will travel. Then check the clearance behind and below the hole, because an air-gap faucet body and its tubing need room a standard faucet doesn't.
Matching Your Sink to the Faucet
Installation documentation varies enough that you can't rely on one generic diameter. The Ferguson installation documentation shows one guide listing a standard faucet opening of 1/2 to 1 3/8 inches and an air-gap opening of 1 1/4 to 1 3/8 inches, while another installation guide calls for a 1 3/8-inch hole. Your faucet's own manual wins over any general range, so confirm it before the drill comes out.
| Faucet or setup | Hole diameter | What to verify |
|---|---|---|
| Standard RO faucet | 1/2 to 1 3/8 inch | Tubing size and NSF/ANSI 58 certification of the RO unit |
| Air-gap RO faucet | 1 1/4 to 1 3/8 inch | Certification to IAPMO PS 65, NSF/ANSI 58 or ASME A112.1.3 |
| Standard single-hole install | 1 3/8 inch in one installation guide | Hole and deck thickness measured before ordering |
| Reusing an existing soap-dispenser hole | Must fall within 1/2 to 1 3/8 inch for standard, or 1 1/4 to 1 3/8 inch for air-gap | Diameter, deck thickness and port access for both RO tubes |
| Pull-down or pot-filler style faucet | 1/2 to 1 3/8 inch for standard, or 1 1/4 to 1 3/8 inch for air-gap | Clearance for purified-water and reject tubing behind the faucet body |
Reusing a soap-dispenser hole works only when the diameter lands in range and both tubes can pass through with access below. A hole that's in range for a standard faucet can still be too small for an air-gap model. During a remodel, decide the faucet type before stone is drilled, because enlarging a hole in granite or quartz after the fact costs far more than choosing correctly on paper.
Tools and Parts to Gather First
Lay everything out before you shut anything off:
- Drill and correct bit: A hole saw or bit rated for your surface, whether that's stone, granite, or stainless steel.
- Adjustable wrench and tubing cutter: The wrench seats mounting hardware, and the cutter gives you square tube ends.
- Plumber's tape and a level: Tape for threaded fittings where the manual calls for it, and a level so the faucet sits straight.
- Bucket, towels, flashlight, and pencil: For residual water in the line, light under the cabinet, and marking the faucet position before drilling.
Confirm the purified-water tubing matches the faucet port size. Then confirm the RO unit carries NSF/ANSI 58 certification as a complete system. Certification covers the tested configuration, so swapping in a faucet that wasn't part of that configuration can change the performance you were promised, even if the finish matches your kitchen perfectly.
If your measurements fall outside the ranges in the table, stop and book a site check instead of forcing a fit. That's also the right moment to compare a countertop faucet against other dispensing points from a professionally designed under-sink reverse osmosis layout, since a whole-house system can feed more than one location when it's planned that way from the start.
Routing the Drain Line and Air Gap Correctly
A faucet can fit the counter and still be wrong for the RO system if its reject-water route lacks backflow protection. Before choosing a faucet, confirm the whole-house system's sizing, water test, certification, and drain capacity. The reject line carries concentrated wastewater toward the drain. A protected break prevents drain water from flowing back toward the RO unit, avoiding a cross-connection.
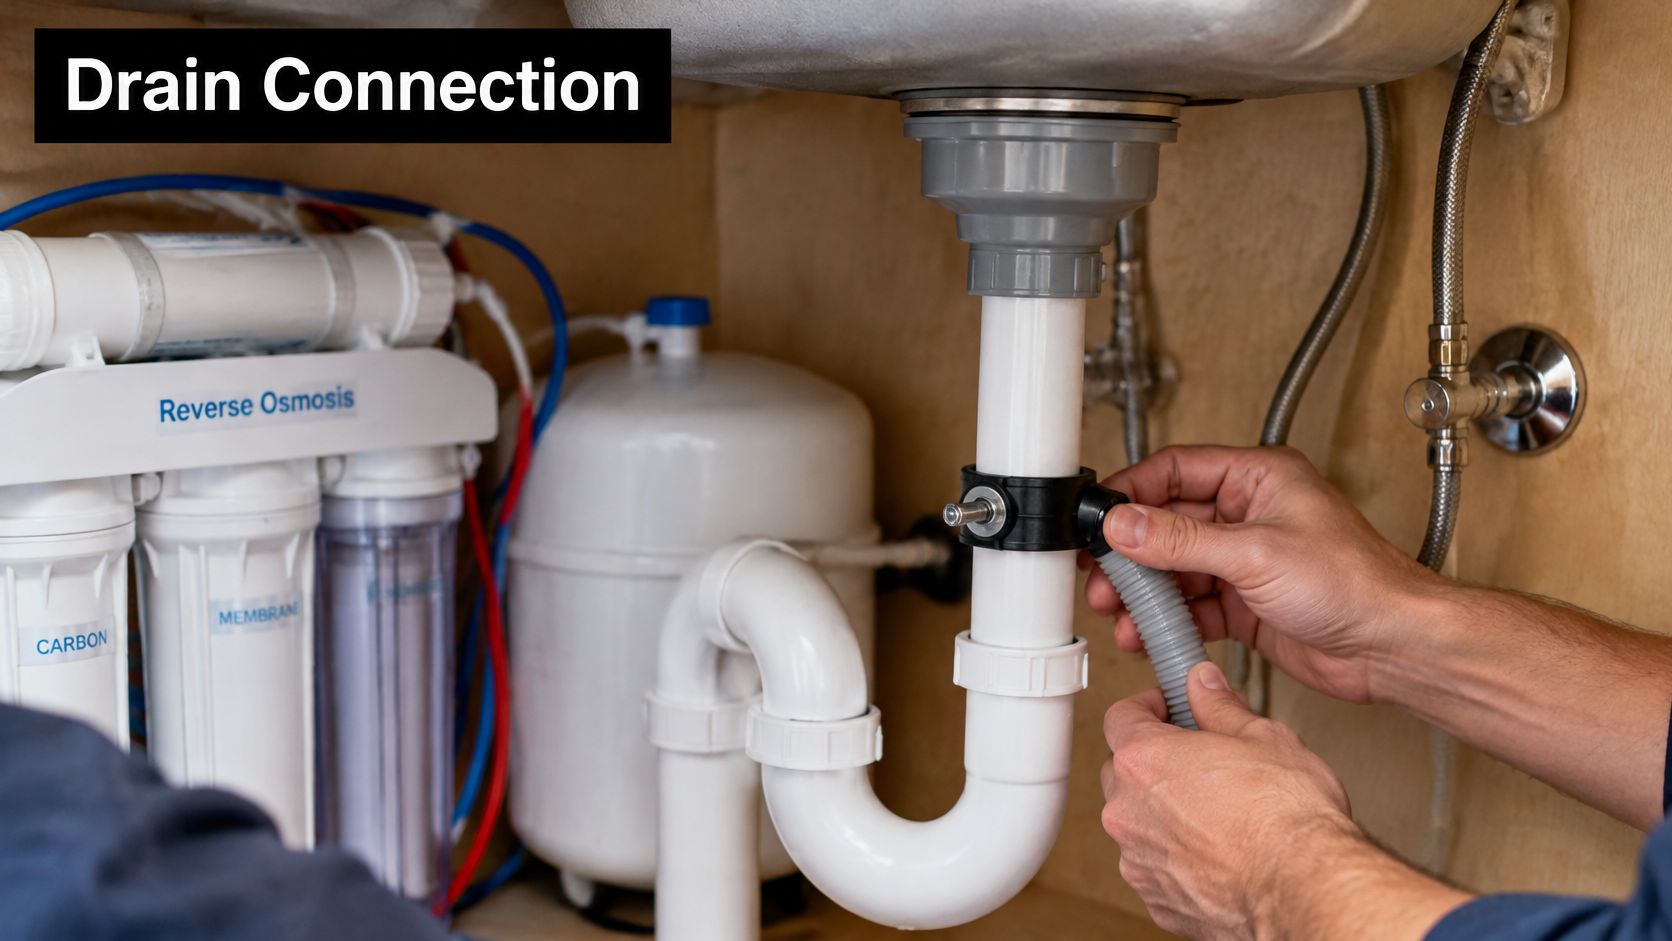
The Minnesota Department of Health point-of-use guidance says point-of-use RO systems must include an air gap or air-gap device, positioned above the sink or collector's flood-level rim. Compliant devices may need to meet IAPMO PS 65, NSF/ANSI 58, or ASME A112.1.3. Manufacturers specify a minimum vertical separation between the tubing outlet and the drain entry, so follow the figure in your unit's installation manual. That physical break keeps drain water from reaching the reject tubing.
Checks You Can Verify Under the Sink
Check the route before putting the system into service. You should be able to see and reach the tubing, not just assume it is protected.
- A visible break: The reject tube outlet is separated from the drain entry by an air gap above the flood-level rim.
- A high loop: The reject tubing rises above the drain entry before running downhill.
- No direct push-in connection: The tube does not end inside a shared sink or dishwasher drain, where discharge can create backpressure.
- An inspectable route: The full run is visible and reachable, without kinks or hidden sections.
A tidy installation can still be unsafe. If you cannot identify the break that prevents backflow, treat the setup as unprotected until it is corrected.
The Non-Air-Gap and Drain Saddle Question
A non-air-gap faucet does not provide equivalent cross-connection protection on its own. Whether one is allowed, or whether a drain saddle is acceptable, depends on local requirements. A faucet already purchased does not override those rules.
Before drilling, ask the Cape Coral or Lee County building department what applies at your property. The answer affects which faucet type and hole size will work, so check before committing to either. If the system serves multiple points as part of a whole-house design, confirm the drain route and capacity suit the planned reject-water volume before selecting the faucet.
Look for warning signs in an existing setup: tubing connected directly to a drain without a protected break, a reject line sloping uphill toward the drain, or a route you cannot inspect without dismantling the cabinet. These conditions call for a closer assessment before use.
For a whole-house RO system, drain capacity is part of the system design, not an afterthought at the faucet. Higher daily reject volume warrants professional review of the route and its protection, and a licensed plumber should handle changes to the drain itself. In a private-well home, where RO may provide the main drinking-water treatment, make sure the backflow protection is clear and accessible.
Install the RO Faucet and Confirm It Runs
With measurements confirmed and the drain route settled, the mount itself is methodical. Work in order and don't skip the verification steps, because each one protects the next.
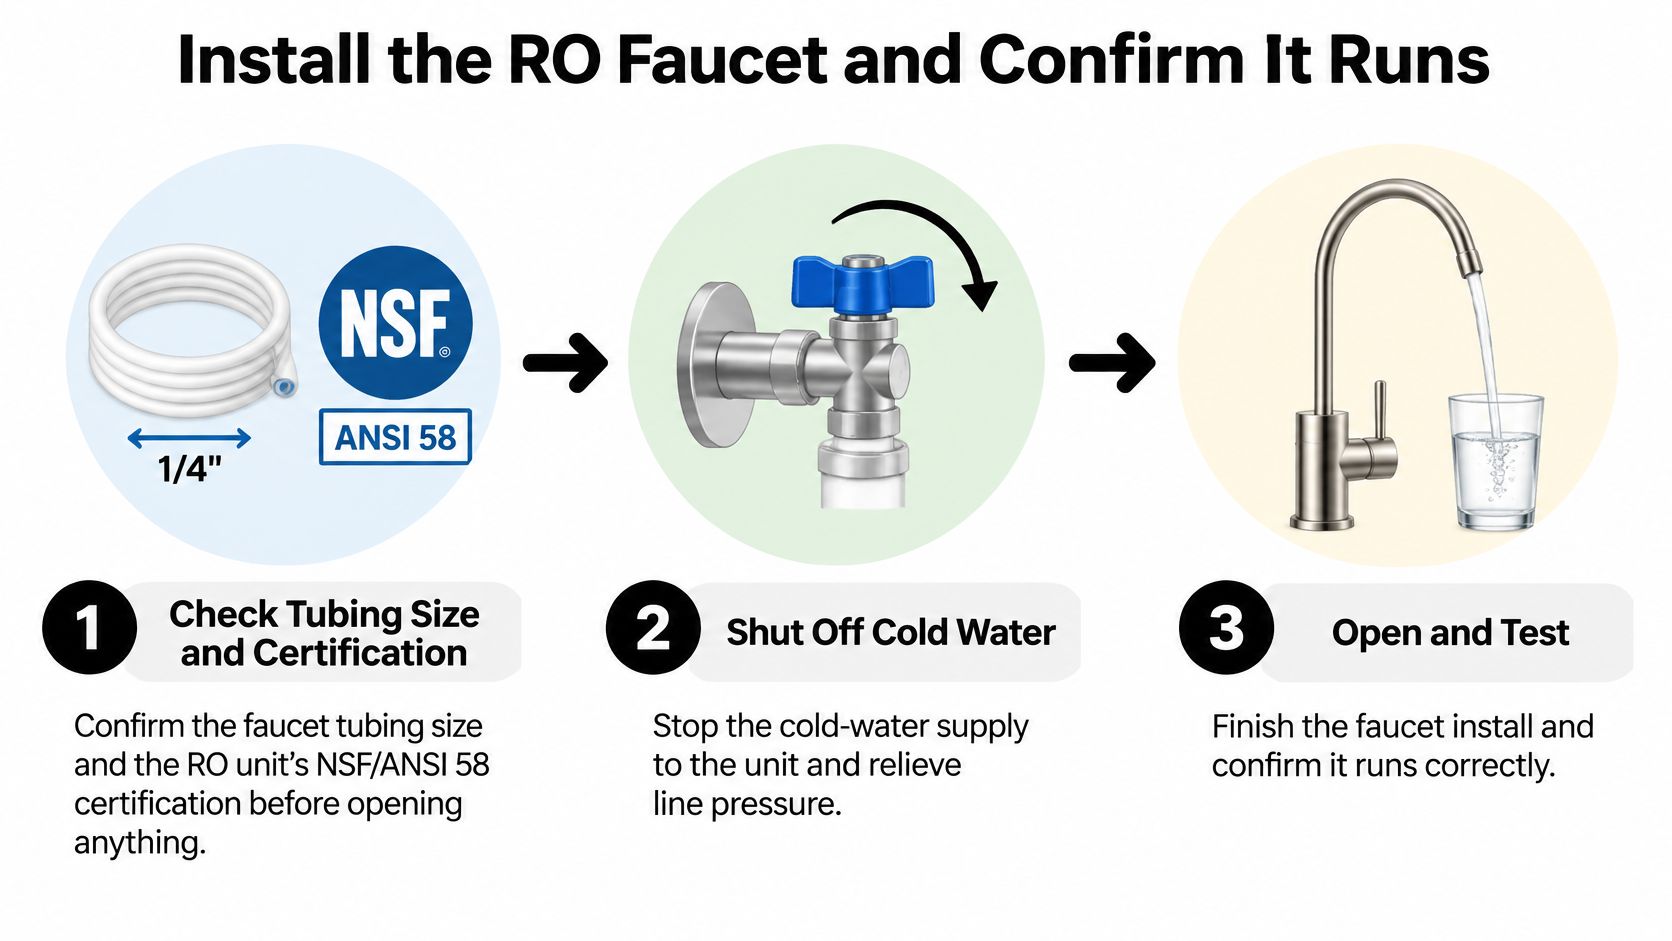
- Confirm tubing and certification: Verify the faucet matches your system's tubing size and the RO unit is certified to NSF/ANSI 58 before opening anything.
- Shut off and depressurize: Close the cold-water supply to the unit and relieve line pressure so nothing is under pressure while you work.
- Prepare the hole: Drill the new hole at the size you confirmed earlier, or clear the existing accessory hole you'll reuse.
- Set the faucet: Seat it with its sealing washer and mounting hardware, tightening evenly so the base sits flat on the deck.
- Connect purified water: Cut the tube square and seat it fully in the fitting, since a square cut is what lets the seal grip evenly.
- Route the reject tube: Form a high loop above the drain connection, then run the tube continuously downhill from there.
- Reopen slowly: Bring the supply back gradually, because sudden pressure stresses new fittings, then inspect every compression or push-fit joint under pressure.
- Test and flush: Confirm the storage tank fills and the faucet flows without pulsing, then discard the initial tank volume as the manufacturer directs.
The high loop in step 6 isn't optional neatness. The Nevada Cooperative Extension guidance warns that drain wastewater must not be able to back up into the RO unit and recommends positioning the tubing so part of it forms a large bend higher than the drain entry point. It also flags a common failure, connecting the reject line where sink or dishwasher discharge creates backpressure that restricts wastewater flow and prevents proper RO operation.
First-Week Commissioning Checks
The install isn't finished when water comes out of the faucet. Time how long the storage tank takes to refill after you draw it down, and write that number down as your baseline. Run the sink and dishwasher while the system produces water and confirm reject water still drains freely.
Record the install date, model numbers, and the filter and membrane change schedule in one place you'll find later. On a whole-house system, that baseline refill time becomes your earliest signal that pretreatment or membrane performance has shifted, weeks before taste changes tell you anything. A professional service visit can run this commissioning review for you if you'd rather have the numbers documented from day one.
Choose DIY Mounting or a Professional Whole-House Install
A faucet can fit the sink and still be wrong for the RO system supplying it. Before buying, confirm the whole-house system's capacity and water requirements, the faucet opening and deck clearance, applicable air-gap rules, and the available drain route. Faucet mounting is a separate task from selecting and installing treatment equipment.
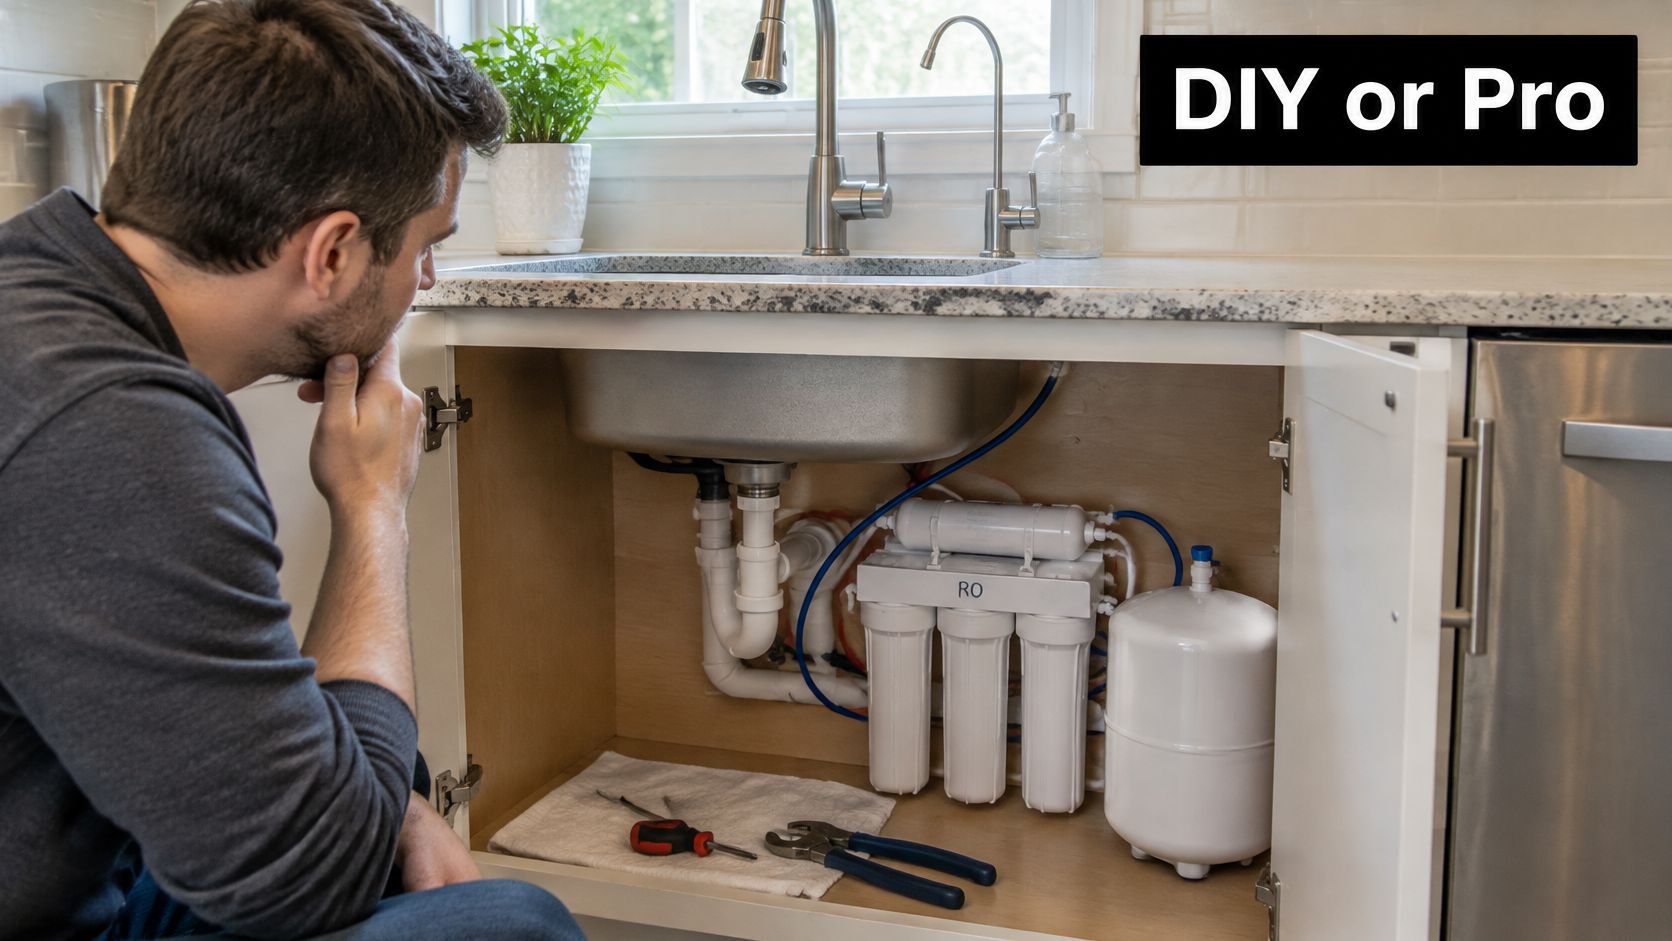
A handy homeowner may be able to mount a faucet in an existing, measured hole by following the installation steps above. The job has a clear endpoint: the faucet is secure, connections do not leak, and water flows as intended. Stone countertops, multi-hole decks, or restricted access make drilling and fitting less forgiving. In those cases, professional mounting can reduce the risk of damaging the counter or choosing incompatible parts.
Where Certification Raises the Stakes
An RO faucet dispenses water treated by a system whose membrane, tank, tubing, and fittings need to work together. The NSF/ANSI 58 standard listing identifies requirements for point-of-use reverse osmosis systems. Check the exact certification and reduction claims for the equipment you are considering rather than assuming that the faucet itself certifies the whole system.
Certification for one contaminant reduction claim does not establish removal of every contaminant in a water supply. Claims also depend on the system and its stated operating conditions. The practical choice is to match the treatment system's documented claims to the water it will serve, then select a faucet compatible with that setup.
Recommendation: Ask for the contaminant claims and test conditions that apply to the proposed configuration. If they are not documented, do not assume they apply to your water.
A whole-house RO system also has to suit household demand and its connection to the drain. Check capacity, water quality, pretreatment needs, storage, and drain requirements before purchasing the faucet or equipment. The faucet is only one part of the installation, so choosing it first can leave you with a mismatch between the dispensing point and the system serving it.
| Task | DIY reasonable | Professional recommended |
|---|---|---|
| Mounting a faucet at a measured existing hole | Yes | Optional for stone or multi-hole decks |
| Air-gap and drain routing | Only after confirming local requirements | For drain changes, use a licensed plumber |
| Whole-house RO system installation | No | Consider a water treatment provider |
| Matching treatment claims to water quality | Review the system's documented claims | Get qualified help if the source or system requirements are unclear |
The Honest Division of Labor
Water Medic of Cape Coral offers whole-house reverse osmosis systems, well water repair, and pool services in Southwest Florida. The company is not a home plumbing or pool plumbing contractor, so changes to household plumbing or drains may require a licensed plumber. Keep the responsibilities clear: treatment equipment and plumbing modifications are distinct parts of the project.
Review Water Medic's water treatment services to see the services the company describes. Then compare the work needed at your home with the table above. A measured opening and straightforward faucet mount may suit a DIY approach; system installation or plumbing changes call for the appropriate professional.
Before buying, confirm the faucet opening and deck material, identify the drain route and applicable air-gap requirement, and check that the proposed whole-house RO system matches the water and household demand. That sequence helps prevent buying a faucet or system that cannot be installed as planned.