DIY Well Water Sediment Filter Replacement Guide
Swapping out your well water sediment filter is one of those simple, ten-minute tasks that can save you thousands in plumbing and appliance repairs. It's easy to put off, but forgetting about it can lead to clogged pipes, broken appliances, and poor water quality, quickly turning a minor chore into a major headache. At Water Medic, we've seen firsthand how a neglected filter can cause expensive, preventable damage, which is why we've put together this expert guide.
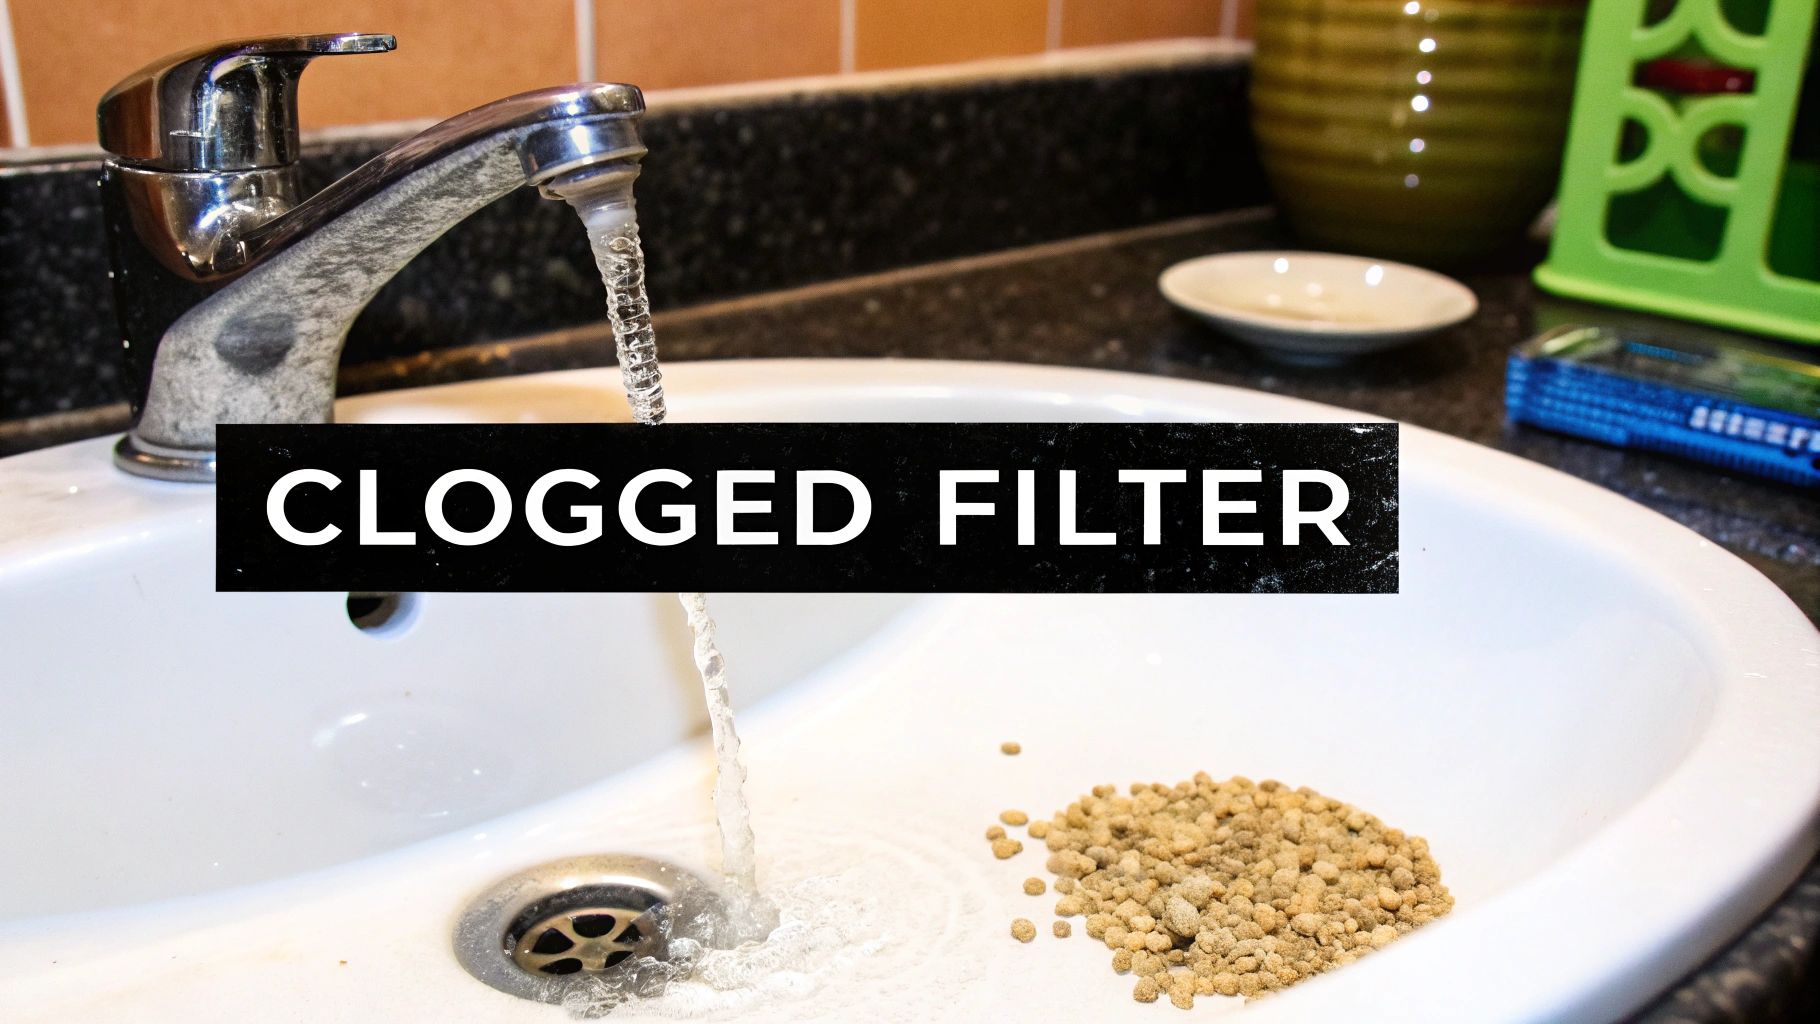
Why a Clogged Sediment Filter Is a Ticking Time Bomb
Think of your well water sediment filter as the unsung hero of your plumbing system. It's the first line of defense, quietly trapping all the sand, silt, and rust that your well pump pulls up. This little cartridge protects everything from your showerhead to your expensive dishwasher. But once it’s clogged solid, it's not just useless—it becomes a liability.
It’s no surprise that homeowners are paying more attention to this. The global sediment filter market was valued at USD 1.5 billion in 2024 and is expected to hit USD 2.8 billion by 2033. That growth shows just how critical good filtration is, especially for anyone on a private well. You can see the full breakdown in this sediment filter market analysis.
The Warning Signs Your Filter Is Begging for a Change
So, how do you know it’s time for a new filter? The signs usually start small, but they’ll get your attention eventually. Learning to spot them early is the key to preventing expensive damage down the road. Our team can quickly diagnose these issues, but you can be the first line of defense.
Here’s a quick checklist of common household symptoms that scream "clogged filter."
Quick Checklist: Signs Your Filter Needs Changing
This table helps you connect what you're seeing around the house with the real problem and the potential cost if you let it slide.
| Symptom | What It Really Means | Potential Cost If Ignored |
|---|---|---|
| Weak Shower Pressure | The filter is so packed with gunk that it's restricting water flow to the whole house. | Higher energy bills from the pump working overtime; eventual pump burnout. |
| Cloudy or Gritty Water | The filter is completely saturated and can no longer capture sediment, letting it flow into your home. | Clogged faucet aerators, showerheads, and damaged appliance valves. |
| Sputtering Faucets | The blockage is so severe that it's causing air pockets to form in your plumbing lines. | Strain on pipes and fixtures; potential for leaks over time. |
| Orange/Brown Stains | Iron, manganese, and other sediments are bypassing the filter and staining sinks, tubs, and laundry. | Permanent fixture damage and ruined clothing. |
Ignoring these red flags isn't just an inconvenience; it's actively harming your home. That buildup of sediment grinds away at the internal components of your water heater, washing machine, and dishwasher, causing them to fail years earlier than they should.
A clogged filter forces your well pump to fight against a blockage every single time you turn on a faucet. That constant strain is a fast track to burning out the pump motor, which is a sudden and very expensive repair.
If you’d rather have an expert handle it, our professional Well Water Services can provide a quick and correct well water sediment filter replacement. We'll also help you figure out the right schedule for your specific well, a topic we cover in our guide to regular water system maintenance.
Picking the Right Filter and Getting Your Tools Ready
Walking into a hardware store for a well water sediment filter replacement without knowing exactly what you need is a recipe for a second trip. The wall of filter options can be dizzying, but grabbing the right one is about more than just finding the right size—it's about making sure your water is actually getting clean. The wrong choice can lead to lousy filtration or, worse, damage your plumbing.
First, you’ve got to get familiar with the micron rating. This number simply tells you how small of a particle the filter can catch. A 50-micron filter is great for bigger stuff like sand, but a 5-micron filter will snag much finer silt. If you go too low with the rating, you'll be changing clogged filters constantly. Go too high, and you're letting sediment get right on through.
Finding the Perfect Filter Cartridge
Beyond the micron rating, you have to nail down the filter’s physical size and what it’s made of. Most whole-house filter housings use standard sizes—think 10" x 2.5" or 20" x 4.5"—but you absolutely have to check what your specific system requires. Don't guess.
You'll also see a few different materials, and each has its pros:
- String-wound filters are a solid, budget-friendly option that's good for capturing a mix of sediment sizes.
- Pleated filters have a much larger surface area. This means they can trap a lot more gunk and usually last longer between changes.
- Spun polypropylene filters are fantastic for depth filtration, meaning they trap particles all the way through the filter media, not just on the surface.
If your water has a funky taste or smell, a sediment filter alone won't cut it. That's when you might want to look into something more, like our specialized carbon filters, which are designed to tackle chemical contaminants and odors.
Putting Together Your Toolkit
Once you have the right filter, it's time to gather your tools. Trust me, trying to wing it without the right gear can turn a quick 15-minute job into a massive headache.
Here’s what you’ll definitely need:
- A filter housing wrench: This plastic wrench is specifically designed for your housing. It gives you the leverage to open it without cracking the canister, which is a common and costly mistake.
- A bucket or a shallow pan: You’ll want this right under the filter housing to catch the water that will spill out. It’s unavoidable.
- A few old towels: For the water that misses the bucket (it happens) and for wiping everything down.
- Silicone grease: Just a tiny bit on the O-ring creates a perfect seal and makes the housing much easier to get off next time.
This idea of matching the right part to the system and having the correct tools on hand applies to more than just water filters. It's a universal principle for home maintenance, as you'll see in an essential guide to filters for air vents in your home.
Choosing the correct filter is non-negotiable for protecting your home’s plumbing. If you feel unsure about micron ratings or filter types, don’t guess. Our experts can source the perfect part for your system, ensuring optimal performance and protection. Our well water repair services include professional filter assessment and replacement.
Getting Your Hands Dirty: The Filter Change-Out
Alright, let's get to the main event: swapping out that old filter. This is more than just a list of instructions; our experts are walking you through it just like we would in the field. We'll cover the little details and common hiccups that can turn a simple job into a frustrating afternoon.
Before you even think about putting a wrench on that filter housing, a little bit of prep makes all the difference. This handy infographic breaks down the simple but crucial steps to get ready.
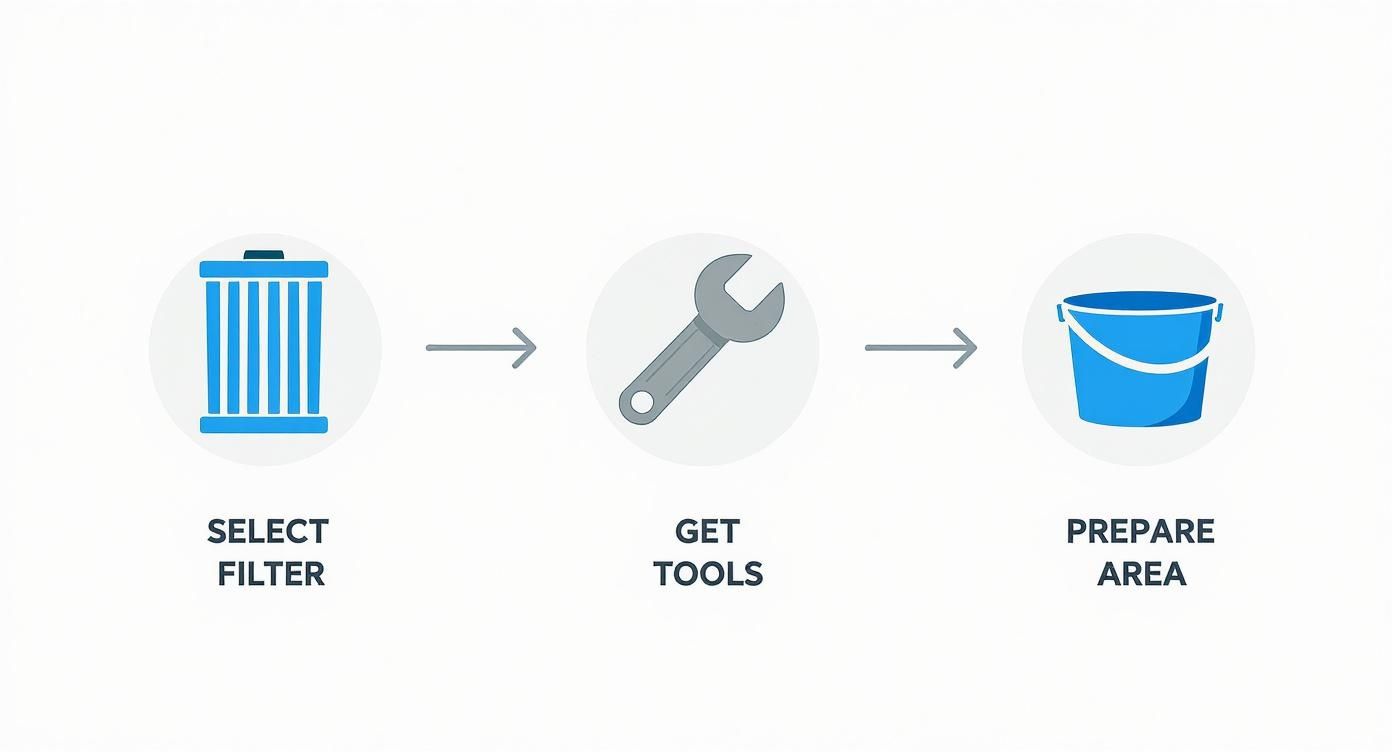
As you can see, a smooth filter change starts before you ever shut the water off. Having the right replacement filter, the correct wrench, and a bucket ready to go is half the battle.
Step 1: Kill the Power and Water Pressure
First things first: you need to cut off the water supply to the filter. Find the shut-off valve on the pipe leading into your filter assembly. Most of the time, this is a ball valve with a single lever. Just give that lever a quarter turn until it’s at a 90-degree angle to the pipe. That's it. No more water is coming in.
Now for a critical step: relieving the system pressure. Your filter housing is under pressure, and you have to release it. Look for a small red button on the top of the filter cap. With your bucket positioned underneath, press and hold that button. You’ll hear a hiss of air and see some water spit out. Don't let go until the hissing stops entirely.
Take it from us, skipping the pressure relief is the most common mistake people make. Trying to unscrew a pressurized canister is a recipe for disaster. It can shoot off with surprising force, soaking everything (and everyone) nearby and potentially damaging the unit.
Step 2: Swap the Filter and Clean House
With the pressure gone, you can safely remove the housing. Grab that special filter housing wrench, slide it up onto the canister, and turn it counter-clockwise (remember: lefty-loosey). It’s probably going to be pretty tight, especially if it's been on there for a while. Use steady, even pressure.
Once you feel it break free, you should be able to unscrew it the rest of the way by hand. The canister will be heavy and full of water, so lower it carefully and dump the old filter and murky water into your bucket. This is the perfect opportunity to do a little housekeeping.
- Check the O-ring: This is the black rubber gasket sitting in a groove at the top of the housing. Gently pull it out and give it a good look. Is it cracked, flattened, or stretched out? A bad O-ring is the #1 reason for leaks after a filter change.
- Scrub the Canister: Use a soft brush and a bit of mild dish soap to clean out the inside of the housing. You want to get rid of any slime or sediment buildup to ensure a clean, perfect seal later.
After it's clean, wipe a very thin film of food-grade silicone grease on the O-ring before placing it back in its groove. This helps create a better seal and makes it easier to remove next time. Then, just drop the new filter cartridge into the canister, making sure it’s sitting straight.
Step 3: Putting It All Back Together
Time to reassemble. Carefully thread the housing back onto the filter head, turning it by hand until it's snug. This is important: do not use the wrench to tighten it all the way. A good, firm hand-tightening is almost always enough. If you feel you must, give it a final nudge—no more than a quarter-turn—with the wrench. Cranking down on it can crack the housing or make it nearly impossible to get off next year.
Sometimes, a simple job uncovers a bigger issue. Maybe the housing is completely stuck, or you notice the threads on the cap look stripped. If you're running into real resistance, don't force it. That's how small problems turn into expensive plumbing bills. If you find yourself in a tight spot, it's time to call in a pro. Our team deals with these exact scenarios every day, and you can see more about our well water repair services if you need a hand.
How to Safely Restart Your System and Check for Leaks
Alright, the new cartridge is in, but don't get ahead of yourself. This final part of the job is just as critical as the filter change itself. A common mistake we see homeowners make is rushing to turn the water back on, which can cause a violent water hammer. This is a massive pressure surge that sends a shockwave through your pipes, making a loud banging noise and potentially damaging joints, fixtures, and the brand-new housing you just installed.
The secret is to bring the water back into the system slowly and gently. Instead of yanking the shut-off valve all the way open, just give it a quarter-turn to start. You’ll hear the filter canister begin to fill up. Just let it do its thing. Once it’s full, you can then open the valve the rest of the way.
The Systematic Leak Inspection
Now that the water is flowing again, it's time to play detective. A slow, tiny drip can seem harmless, but over time it can lead to serious water damage, mold, and rot. This isn't a step you can just eyeball—grab a flashlight and get ready for a close-up inspection.
Your main suspect is the seal between the filter cap and the canister. We'd say 90% of post-replacement leaks happen right here, usually because the O-ring got pinched, wasn't lubricated, or has a bit of grit on it.
A dry paper towel is your best friend for this part. Carefully run it around these three key areas:
- The top seam where the clear canister screws into the cap.
- The fittings for the inlet and outlet pipes.
- The pressure relief button, if your housing has one.
If you see even the slightest hint of moisture on that paper towel, you've got a leak that needs to be addressed. Often, another slight turn with the filter wrench will do the trick, but don't go crazy and overtighten it.
A persistent drip after a well water sediment filter replacement is more than just a nuisance; it's a clear warning. If tightening it down doesn't stop the leak, you might have a damaged O-ring or even compromised housing threads. Ignoring it is just asking for a bigger, more expensive problem down the road.
Bleeding the Air From Your Lines
Last but not least, you’ve got to get the air out of your pipes. All that air got in while the system was open, and it's the reason your faucets will spit and sputter if you don't clear it out. Luckily, the fix is easy.
Find the faucet that’s closest to your filter system—this is often a laundry room sink or an outdoor spigot. Open the cold water tap all the way and just let it run. It’s going to hiss, spit, and sputter for a minute as it pushes all that trapped air out of the lines. After a few minutes, the stream will become smooth, steady, and clear. That’s your signal you’re done.
If you’ve done all this and you’re still spotting drips or hearing strange noises, it's time to stop and get a professional opinion. Don't risk a major leak. Our Emergency Repair Services are always here to provide immediate help and ensure your system is sealed up tight and running perfectly.
Troubleshooting Common Issues After a Filter Change
So you’ve buttoned everything up, but something's still off. Don't sweat it. Even after a picture-perfect well water sediment filter replacement, hitting a small snag is more common than you'd think. Let's run through what might be happening and get your water flowing properly again.
The most frequent headache by far is a leaking filter housing. If you see that telltale drip, your first move should be to check the O-ring. It’s incredibly easy to pinch it or forget to lubricate it when tightening things down. Just turn the water off, bleed the pressure, and take a second look to make sure it's seated perfectly.
Another classic issue is a sudden drop in water pressure—exactly the opposite of what you wanted! This is usually just air trapped in the lines. Open a faucet close to the filter and let it run for a few minutes. If the pressure doesn't bounce back, double-check the micron rating on your new filter. A finer filter (a lower number) will naturally restrict flow more than a coarser one, which might be what you're experiencing.
When the Problem Isn't the Filter
Sometimes, the issue you're seeing has nothing to do with your handiwork. For instance, if the water comes out cloudy or murky right after the change, it's often just harmless carbon dust from a brand-new filter or sediment that got stirred up in the pipes. This almost always clears up after a few minutes of running the water.
But what if these quick fixes don't cut it? If you're still dealing with stubborn issues, it's time to look beyond the filter housing.
- A Failing Well Pump: An aging pump might not have the strength to push water through a fresh, clean filter, leading to disappointing pressure.
- Pressure Tank Problems: A waterlogged pressure tank or a failed bladder can create all sorts of pressure headaches that a new filter will never solve.
Chasing a problem by replacing perfectly good parts is a frustrating and expensive game. When your own troubleshooting hits a wall, it’s a strong clue that the real issue is hiding somewhere else in your well system.
With the global water filters market valued at USD 15.88 billion in 2024, it’s clear how essential these systems are. This growth reflects a rising awareness of water quality, especially for well owners who are solely responsible for their water supply. You can read more about the trends in the water filter market to understand the bigger picture.
When you've tried everything and your well water sediment filter replacement still isn't right, stop guessing. Our professional Well System Diagnostics service can get to the bottom of it. We have the right equipment to test your pump, pressure tank, and entire system to find the true source of the problem, saving you time, money, and a whole lot of frustration.
Your Well Water Filter Questions Answered
Alright, let's tackle some of the most common questions that pop up when you're dealing with well water sediment filters. Even with a good guide, you're bound to run into a few head-scratchers. Think of this as the advice you'd get from a seasoned pro who's seen it all.
How Often Should I Really Replace My Sediment Filter?
The "every 3-6 months" rule is a decent starting point, but the honest answer? It depends. The real boss here is your well. If it kicks up a lot of sand and silt, you might be changing that filter monthly just to keep your shower from turning into a sad drizzle.
Your best clue is always a drop in water pressure. When your faucets start losing their oomph, it's a good bet your filter is clogged.
For a schedule that’s actually tailored to your home, a professional Water Quality Testing service is the way to go. We can analyze your water and tell you exactly what you're dealing with, taking all the guesswork out of the equation.
Can I Just Clean and Reuse My Old Filter?
I get this question a lot. For the standard filters most homes use—like the string-wound or spun polypropylene kind—the answer is a hard no. They’re built for one and done.
Trying to wash them out is a bad idea. You can easily damage the filter material, and worse, you might accidentally flush all the gunk it captured right back into your pipes.
Sure, some pleated filters are marketed as "reusable," but even they break down over time and become less effective. For your peace of mind and for water you can trust, a fresh filter is always the best move.
Trying to reuse a disposable filter is a classic case of being penny-wise and pound-foolish. The potential cost of damaged appliances or compromised water quality far outweighs the small savings from not buying a new filter.
What Happens If I Install the Filter Upside Down?
It’s an easy mistake to make, especially when you're rushing. But putting a filter in backward can cause some real headaches. Most are designed for water to flow from the outside in.
If you install it upside down, the water pressure can actually crush the filter core. This will choke your water flow and could send a blast of trapped sediment surging through your plumbing. Not good.
Always look for the directional arrows printed on the filter cartridge or housing cap. When in doubt, it’s better to pause and double-check than to risk damaging your system.
My Filter Housing Is Stuck and Won't Budge. What Now?
Ah, the dreaded stuck housing. This happens all the time, usually because someone cranked it on too tight last time. First things first: make absolutely sure you've released all the pressure using that little red button on top.
Next, grab the filter wrench that came with the system. It’s designed to give you the right leverage without breaking anything. Whatever you do, don't use a metal wrench or pliers—you'll crack the plastic housing for sure.
If you've given it a firm, steady pull and it still won't give, it’s time to stop. Forcing it is a recipe for a costly mess. This is a perfect time to call in a pro. We have the right tools to get it loose without causing any damage. For more answers to common questions about water purity, check out this great resource on general water FAQs.
When your quick DIY job starts to feel like a major project, Water Medic of Cape Coral is ready to step in. Our experienced technicians can sort out anything from a stubborn filter to a full system check-up. Let us make sure your water is clean and your system is running smoothly.