How to Clean Pool Tiles a Practical DIY Guide
Let's face it, knowing how to clean your pool tiles is about more than just a bit of elbow grease. It’s about diagnosing the right kind of stain—is it stubborn calcium scale or pesky algae?—and using the right approach.
For a little bit of light buildup, a simple mix of vinegar and water with a soft brush often does the trick. But for those tougher, baked-on stains that just won't budge, you’ll likely need something stronger. That's where professional pool tile cleaning services come in, offering the power and precision to make your pool sparkle again.
Your Guide to Sparkling Pool Tiles
If you're tired of looking at dull, stained pool tiles, you've come to the right place. Here in Southwest Florida, our hard water and relentless sun are a perfect recipe for creating stubborn waterline buildup and stains that can make a beautiful pool look rundown.
Getting that sparkle back isn't just about aesthetics. Clean tiles are a critical part of your pool's health. Dirty, grimy surfaces can become a breeding ground for bacteria and algae, throwing off your water chemistry and creating a rough, scratchy texture that's no fun to touch. Let that buildup sit for too long, and you risk permanent damage to the tile and grout, leading to costly repairs.
Why Tile Maintenance Matters
Before you start scrubbing, it helps to know what you're up against. Most of the tile issues we see homeowners struggling with in this area boil down to a few common culprits:
- Calcium Buildup: That chalky white line at the waterline? That’s calcium carbonate. It’s left behind as pool water evaporates, and it’s a constant battle here because of our hard water.
- Algae Growth: Green, black, or even mustard-colored algae just loves to grab onto tile and grout, creating slimy patches that are both ugly and slippery.
- Organic and Mineral Stains: Everything from fallen leaves to minerals like iron naturally present in the water can leave behind stubborn discoloration over time.
Think of this guide as your go-to resource. We'll walk you through how to identify what's staining your tiles and give you some straightforward DIY methods for regular cleaning. Catching these problems early is the key to preventing a small issue from turning into a major headache.
But it’s also important to know when to throw in the towel—or rather, the scrub brush. If you've put in the effort and the stains aren't budging, or if you're facing a thick, hardened layer of scale, it's probably time to call in a pro. Using the wrong tools or harsh chemicals can easily scratch your tiles or eat away at the grout, causing more damage than you started with.
At Water Medic of Cape Coral, we live and breathe Southwest Florida pool care. Our professional pool tile cleaning services are specifically designed to tackle the tough stains unique to our area, doing it safely and efficiently. This guide will arm you with the knowledge to handle the small stuff yourself and help you recognize when our expertise is the best path forward.
Getting to the Bottom of Common Pool Tile Stains
Before you start scrubbing, you need to play detective. Figuring out exactly what kind of stain you’re dealing with is the single most important step. Why? Because each type of stain has a different enemy, and using the wrong cleaning method is a fast track to frustration and, even worse, potential damage to your tiles.
Here in Southwest Florida, we see the same few culprits over and over again. Getting familiar with what they look like is the key to picking the right tool for the job.
This quick visual guide can help you figure out if you've got a DIY project on your hands or if it's time to call in the pros.
As you can see, many minor tile cleanups are totally manageable. But when the problem is widespread or just won't budge, an expert can save you a lot of headaches and protect your investment.
To help you get started, let's take a look at the most common stains you're likely to find on your pool tiles. Knowing what you're up against is half the battle.
| Stain Type | Appearance | Common Cause |
|---|---|---|
| Calcium Carbonate | Chalky, flaky white buildup | Evaporation of hard water |
| Calcium Silicate | Hard, grayish-white deposits | Long-term, untreated hard water buildup |
| Green Algae | Slimy green spots or patches | Poor water circulation or low chlorine |
| Black Algae | Small, hard black dots | Spores entering the pool; very chlorine-resistant |
| Metal Stains | Reddish-brown, blue-green streaks | Dissolved metals like iron or copper |
| Organic Stains | Brownish or greenish residue | Leaves, berries, or other organic debris |
This table is a great starting point for identification. Once you have a good idea of what you're looking at, you can choose the right cleaning approach.
The Two Faces of Calcium Buildup
Thanks to our notoriously hard water, calcium scale is, by far, the most common headache for local pool owners. But it’s important to know there are two distinct types.
-
Calcium Carbonate: Think of this as the "entry-level" scale. It's that chalky, flaky white line you see right at the waterline. It’s relatively simple to tackle with the right acidic cleaner and a bit of elbow grease.
-
Calcium Silicate: This is what happens when calcium carbonate is ignored. It hardens into a tough, grayish-white deposit that feels more like concrete. Removing it often requires professional-grade techniques like bead blasting to get it off without etching the tile itself.
The constant fight against hard water isn't just a pool problem. If you're seeing the same white buildup on your faucets and showerheads, a whole-home solution might be the answer. Our water softeners can make a world of difference, protecting not just your pool but all your pipes and appliances.
Unwanted Guests: Identifying Algae Growth
Algae doesn't just look bad; it can leave some surprisingly stubborn stains on your tile and grout. You’ll want to keep an eye out for these common varieties:
-
Green Algae: The usual suspect. It shows up as slimy green spots or a cloudy green tint in the water.
-
Black Algae: This one is a real nightmare. It looks like small, dark black spots and puts down roots deep into grout and plaster, making it incredibly difficult to kill off for good.
-
Mustard Algae: This tricky, yellowish-brown algae often gets mistaken for sand or dirt. It loves to cling to tile surfaces and is notoriously resistant to normal chlorine levels.
If you don't correctly identify and treat the specific algae you have, it's almost guaranteed to come right back, trapping you in an endless—and expensive—cycle of cleaning.
Decoding Metal and Mineral Stains
Sometimes the discoloration has nothing to do with buildup at all. Instead, it’s caused by minerals and metals dissolved in the water. These stains usually appear as reddish-brown, dark purple, or even bluish-green patches and streaks on your tile.
The culprits are typically metals like iron, copper, and manganese. They can get into your pool from well water, old copper plumbing, or even certain types of algaecides. Attacking these stains with a scrub brush won't do much. You need a completely different strategy, usually involving sequestering agents that chemically pull the metals out of suspension so they can be filtered out.
It's clear that homeowners everywhere want a pristine pool. The global market for pool cleaning services was valued at USD 26.92 billion and is expected to climb to USD 36.09 billion by 2029. That's a huge number, and it shows just how much people are willing to invest in a clean, healthy swimming environment.
If you’re staring at a stain and just can't figure it out, let us take the guesswork out of it. Our professional assessment can pinpoint the root cause and lay out the most direct path to getting your pool tile looking brand new again.
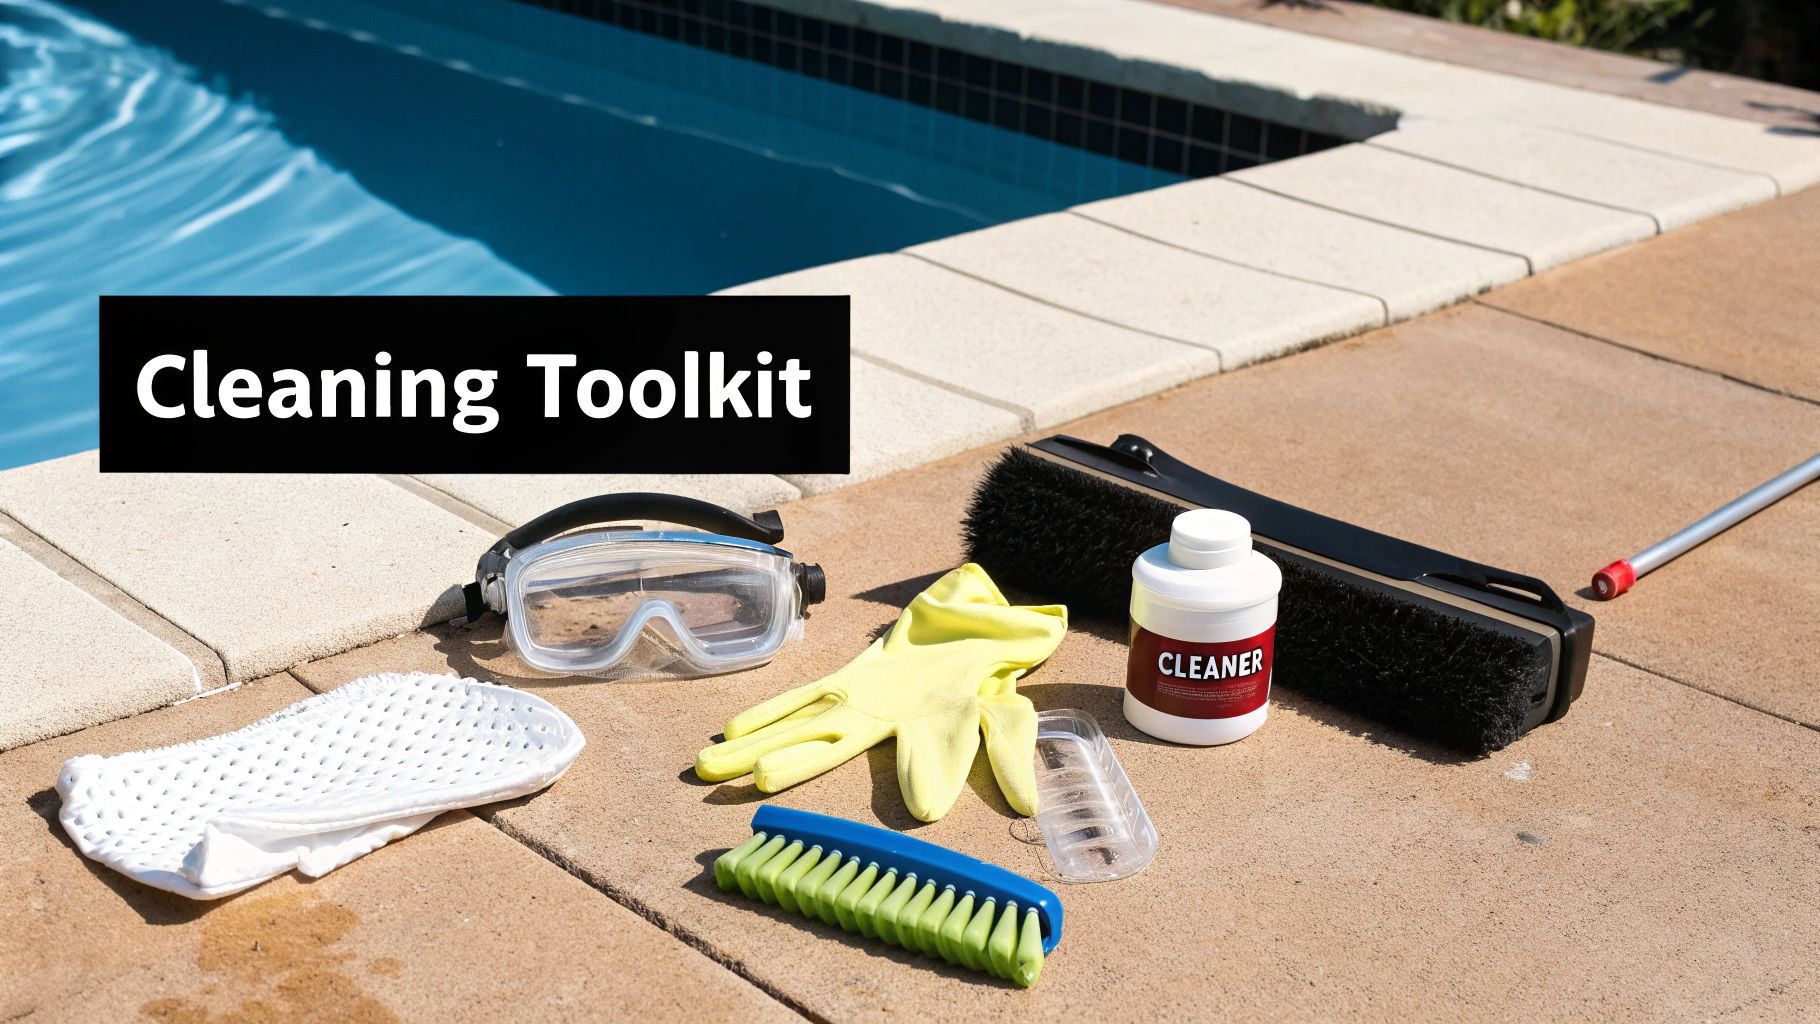
Your DIY Pool Tile Cleaning Toolkit
Alright, now that you’ve got a good idea of what’s staining your pool, it's time to gear up. Having the right tools makes all the difference—it separates a frustrating Saturday of fruitless scrubbing from a successful cleaning that actually brings back your tile’s shine. Think of this as your essential starter kit for tackling the most common pool tile problems.
Before you even start, I recommend getting all your supplies together in one spot. A small bucket or a caddy you can slide along the pool's edge works perfectly. This simple step saves you from constantly hopping out of the water or making trips back to the garage.
Essential Manual Scrubbers
You don't always need heavy-duty equipment to get the job done. Sometimes, a little focused elbow grease is all it takes, as long as you have the right tool for the job. The key is picking a scrubber that's tough on the grime but gentle on your tiles.
-
Nylon Bristle Brush: This is your workhorse. A good, stiff nylon brush is the first thing you should grab for general cleaning. It’s perfect for working on light algae, organic gunk, and the first layers of calcium carbonate without scratching delicate ceramic, porcelain, or even glass tiles.
-
Pumice Stone: Think of a pumice stone as a special weapon for tough calcium, but use it with extreme caution. It should only be used on hard plaster (gunite) pool surfaces, and it absolutely must be kept wet the entire time you're using it. A dry pumice stone will leave nasty scratches behind.
-
Soft Cloth or Sponge: For wiping down sensitive tiles or applying cleaning solutions without scratching, a simple microfiber cloth or a non-abrasive sponge is a must-have.
Using the wrong tool can cause permanent damage. Take a pumice stone to glass tile, for instance, and you'll etch it for good, leaving it cloudy and dull. If you're ever in doubt, always start with the gentlest option—the nylon brush.
Effective Cleaning Solutions
With your scrubbers ready, you’ll need something to help break down the stains. You’ve got a few options here, from stuff you probably already have in your kitchen to more specialized products.
DIY and Natural Options
For many minor stains, you can get great results without heading to the pool store. These solutions are cheap, easy to whip up, and generally safer to have around.
-
Vinegar and Water Solution: A simple 50/50 mix of plain white vinegar and water in a spray bottle is surprisingly effective against early-stage calcium carbonate. The mild acid does a great job of dissolving those light mineral deposits.
-
Baking Soda Paste: Need a bit more grit? Mix baking soda with just enough water to form a thick paste. Slap it on the stain, let it sit for a few minutes, then go at it with your nylon brush. The gentle abrasion helps lift stains out of both the tile and the grout lines.
These homemade cleaners are fantastic for regular upkeep and tackling small issues before they get out of hand.
Commercial Pool Tile Cleaners
When a DIY approach isn’t making a dent, it's time to bring in a commercial-grade cleaner. Look for products specifically made for pools that are designed to remove calcium, lime, and rust. The most important thing is to read the label and make sure it’s safe for your specific tile material (ceramic, porcelain, glass, etc.).
Pro Tip: Always, always test a new commercial cleaner on a small, hidden spot first. Let it sit and rinse it off to be sure it doesn't discolor or damage your tile. A quick spot test can save you from a very expensive headache.
Prioritizing Your Safety
Even when you're using something as simple as vinegar, safety comes first. Pool-cleaning agents can easily irritate your skin and eyes.
- Protective Gloves: Always wear a pair of waterproof, chemical-resistant gloves.
- Safety Goggles: Protect your eyes from splashes. It only takes one stray drop.
- Ventilation: If you're using stronger commercial cleaners, make sure air is circulating well around the pool.
While this DIY kit is great for routine maintenance, it’s crucial to know its limits. The tools you can buy at a home improvement store just can't compete with the power and precision of professional equipment. In fact, the professional pool cleaning machines market is booming, with a forecasted jump of USD 253.3 million by 2028, all driven by the kind of technology pros use to get flawless results. You can discover more about the advancements in pool cleaning technology and see where the industry is heading.
For that thick, rock-hard calcium silicate or widespread staining that just won’t budge, our team at Water Medic of Cape Coral uses specialized gear like bead blasters. This tech can safely strip away years of buildup without hurting your tiles—a result that’s next to impossible to get with a pumice stone and a lot of hope. If you find yourself scrubbing for hours with little to show for it, that's a sure sign it's time for professional backup.
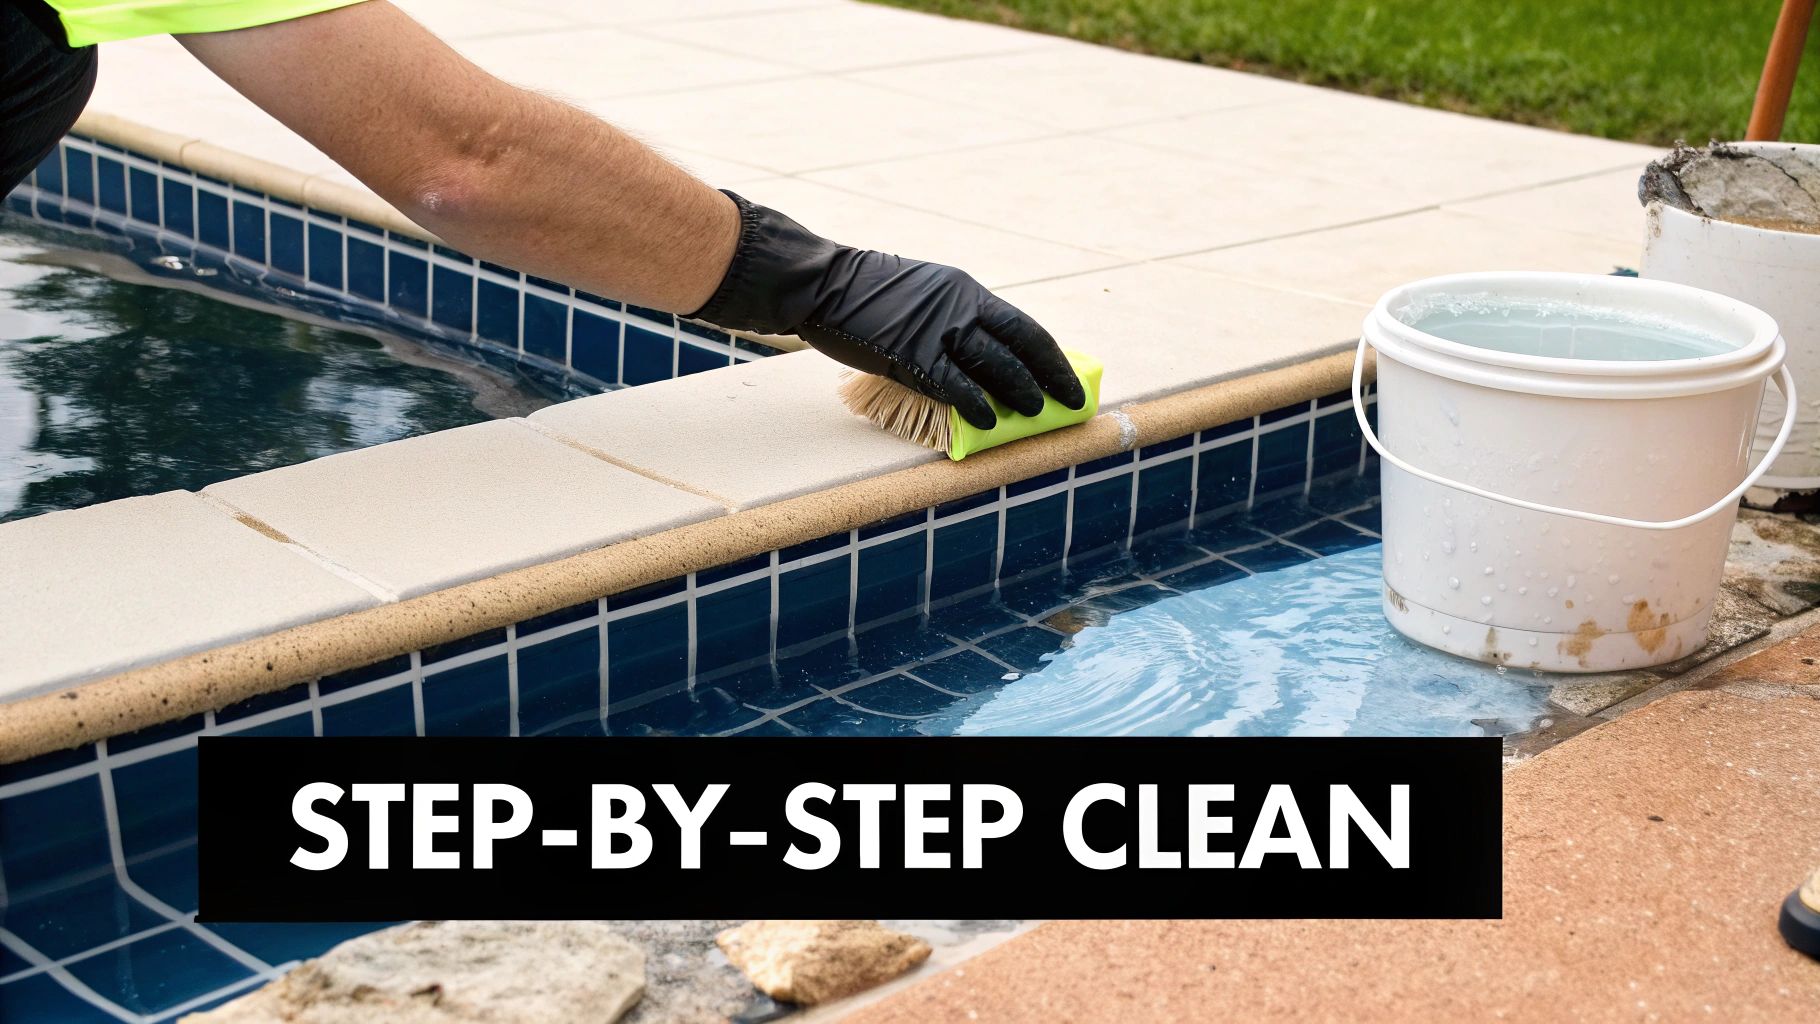
Getting Your Hands Dirty: How to Tackle Any Stain
Alright, you've got your tools ready. Now for the real work. Having the right supplies is half the battle, but knowing how to use them against specific stains is what really gets the job done. This is where we get into the nitty-gritty, breaking down the best techniques for everything from that annoying white waterline ring to deep-set algae spots.
Just remember the golden rule: start gentle. You can always bring out the bigger guns if you need to, but there's no sense in overdoing it. Rushing or using the wrong cleaner can just make a mess or, worse, damage your tile. Let's walk through it, step-by-step, focusing on the stains we see every single day here in Southwest Florida pools.
Tackling Light Calcium Buildup
That chalky white line that hugs your waterline? That's calcium carbonate, the most common villain in the world of pool stains. The good news is, if you catch it early, it’s not too tough to handle with a little elbow grease and the right stuff.
First things first, you need to get the tile dry. Drop your pool’s water level by about six inches to give yourself a clear work area. This is a crucial step because it keeps your cleaning solution concentrated on the stain instead of getting instantly diluted by the pool water.
Now, grab your 50/50 vinegar-and-water mix and generously spray it onto the exposed, dry tile. Don't be shy with it. Let that solution sit and work its magic for at least 15-20 minutes. This dwell time is everything—it gives the acetic acid in the vinegar time to react with and start dissolving the calcium. You might even see a little fizzing action, which means it's working!
Once it's had time to soak, take your stiff nylon brush and start scrubbing. Small, circular motions with firm, steady pressure work best. You’ll probably need to spray more vinegar solution as you go to keep the tile wet and the chemical reaction active. For a deeper dive into the science of this, check out this expert guidance on removing hard water stains, which has some great insights.
Pro Tip: For a really stubborn spot that just won’t budge, try making a thick paste with baking soda and a little water. After the vinegar soak, slather this paste on. The slightly abrasive texture of the baking soda can provide that extra scrubbing power you need to lift the deposit without scratching your tile.
Battling Algae Stains on Tile and Grout
Algae is more than just an ugly green slime; it can leave behind some seriously stubborn stains, especially in the grout. For this job, you’re not dissolving a mineral—you’re killing an organism and bleaching out the color it left behind.
Chlorine is your best friend here. Mix up a solution of one part regular household bleach to three parts water in a spray bottle. Just like with calcium, you'll want to lower the water level to expose the stained grout and tile.
Spray the bleach solution directly on the algae stains and let it sit for about 10-15 minutes. You’ll see the chlorine go to work, killing off any leftover spores and bleaching the stain. After that, it’s time to scrub hard with your nylon brush. Pay special attention to the grout lines, as that’s where algae loves to hide.
- Green Algae: This is the easiest to deal with. A good soak and moderate scrubbing should lift it right off.
- Mustard Algae: A bit more tenacious. You might need a second round of bleach and more muscle behind the brush.
- Black Algae: The absolute worst. This stuff grows roots that dig deep into the grout. You can scrub the surface clean, but if you don't kill the roots, it will come back.
When you're done scrubbing, give the area a thorough rinse with fresh water before you bring the pool level back up. If those black algae stains just won't quit, you’re dealing with a bigger problem that surface cleaning can't fix. It's time to call in heavier backup.
When DIY Methods Hit a Wall
Look, there comes a point where even the best DIY efforts fall short. If that vinegar solution is doing next to nothing on your calcium line, you’re probably up against calcium silicate, which is a whole different beast. If you’ve scrubbed with chlorine until your arm is sore and the grout is still discolored, that stain might be permanent.
This is the moment to put the tools down. Continuing to fight it on your own can cause more harm than good. Getting too aggressive with a pumice stone can leave permanent scratches, and messing with stronger acids is a serious safety risk that can permanently etch your tile.
That's your cue to call in a professional. For that thick, hardened scale that just laughs at vinegar, our bead blasting services are the answer. We can safely and effectively strip it away without damaging your tile. The team at Water Medic of Cape Coral has seen it all and has the right gear to fix these stubborn problems for good. Instead of sacrificing another weekend, let us handle it. You can learn more about our comprehensive swimming pool services and see how we tackle even the toughest jobs.
When It's Time to Call in the Pros for Your Pool Tile
https://www.youtube.com/embed/YrR3Qpr0u0U
Let's be honest—sometimes, even the best DIY efforts just aren't enough. You can scrub and soak all weekend, following every guide you find online, but some pool tile stains simply refuse to give up. Pushing too hard at this point is a recipe for frustration and, even worse, can permanently damage your beautiful tile. Knowing when to put down the brush and pick up the phone is the smartest move you can make to protect your pool investment.
If you’re up against a thick, rock-hard layer of scale that scoffs at your vinegar spray, you're likely dealing with calcium silicate. Think of it as the final boss of calcium buildup—it’s incredibly tough and requires specialized gear to remove without harming your tile. The same goes for black algae that has burrowed deep into your grout or widespread staining that wraps around your entire waterline. When the problem is this big, a professional service isn't just a convenience; it's a necessity.
The Right Tools and Know-How Make All the Difference
Here at Water Medic of Cape Coral, we come armed with cleaning power and precision that you just can't get from a hardware store. Our technicians use high-powered equipment like bead blasters, which fire fine, rounded beads at the tile using compressed air. This method is amazingly effective at blasting away years of hardened calcium and grime without etching or scratching the tile surface.
This kind of technology is a true game-changer for pools here in Southwest Florida, where our water conditions are notoriously tough on tile. While your own maintenance efforts are fantastic for upkeep, our professional techniques deliver a complete restoration. We also use professional-grade cleaners that are far more potent than consumer versions, and more importantly, we know exactly how to apply them safely to protect your family, your pets, and your pool's finish.
Don't waste another beautiful Florida weekend in a losing battle with stubborn stains. Our team has seen it all and has the right tools and local experience to handle the unique water challenges in Cape Coral. A professional cleaning isn't just about appearances—it's about restoring your pool the right way, quickly and efficiently.
Signs That DIY Isn't Going to Cut It
It’s probably time to give us a call if you're facing any of these common roadblocks:
- Rock-Hard Calcium Silicate: If the buildup feels more like concrete than chalk and you can't even scrape it with a fingernail, you need professional-grade equipment.
- Stubborn Black Algae: Stains lingering deep in the grout after multiple shock treatments mean the problem has roots that surface cleaning can't reach.
- Widespread Discoloration: If your entire waterline is stained, a professional can restore it evenly in a fraction of the time it would take you.
- Worried About Damaging Your Tile: If you’re hesitant to take a pumice stone or harsh chemicals to your delicate glass or custom porcelain tiles, trust your instincts. It's always better to let an expert with the right touch handle it.
For especially tough grout issues or complex stains beyond typical pool buildup, you might also consider calling in professional tile grout services. They specialize in the fine details of tile and grout restoration.
It's clear that homeowners want powerful, effective pool care. The global market for robotic pool cleaners was valued at USD 2.01 billion and is expected to more than double to USD 4.52 billion by 2032. North America is the biggest market, which shows just how much we value solutions that keep our pools pristine, especially along that highly visible waterline.
Let us save you the time, headache, and risk of causing damage. Contact Water Medic of Cape Coral today for a free estimate, and let our experts make your pool sparkle again.
Answering Your Top Pool Tile Cleaning Questions
Even with the best instructions, you're bound to have questions. That's completely normal. Getting good answers helps you feel confident tackling the job yourself, but it also helps you know when to call in a pro to protect your pool investment. Let's dig into some of the questions we hear all the time from pool owners here in Southwest Florida.
How Often Should I Be Cleaning My Pool Tiles?
Here in sunny Florida, staying on top of tile cleaning is pretty much a constant chore. For routine maintenance, giving your tiles a quick scrub every couple of weeks is a great habit. This simple step can stop that initial layer of grime and organic stuff from baking onto the surface in the sun.
But let's be realistic about our local water. It's packed with minerals. That's why we always recommend getting a professional deep clean at least once a year. This is the only way to really tackle the stubborn calcium scale that inevitably builds up. Honestly, the products you can buy at the store just can't compete with professional-grade solutions for that kind of buildup.
Is It Okay to Pressure Wash My Pool Tiles?
Please, don't do it. We get why it seems like a great idea—it's fast and powerful, right? But we've seen the aftermath too many times. That high-pressure stream is notorious for chipping tiles, blasting out the grout right from the joints, and even causing hairline cracks. The repair bill for that kind of damage is always much higher than what a proper cleaning would have cost.
If you're dealing with really tough buildup, a much better and safer approach is our professional bead blasting service. It's a specialized technique that's tough on scale but incredibly gentle on your tile and grout. You get a deep clean without the risk of collateral damage.
What’s the Difference Between Bead Blasting and Acid Washing?
This is a fantastic question, and one we get a lot. They sound similar, but they're used for completely different jobs.
-
Bead Blasting: Think of this as a targeted treatment just for the tile line. We use compressed air to shoot a very fine, smooth media (like tiny glass beads) at the tile. It's a physical cleaning process that literally knocks the calcium and other deposits right off without using harsh chemicals.
-
Acid Washing: This is a whole different ballgame. It's a heavy-duty chemical process for the entire interior surface of a plaster or pebble pool, not just the tile. It means draining the pool completely and washing the walls and floor with a muriatic acid solution. It actually removes a very thin layer of the plaster itself to reveal a fresh surface. It’s a major reset for a stained pool and absolutely a job for seasoned professionals.
Can We Swim Right After the Tiles Are Cleaned?
Your family's safety is always priority number one. If you’ve just done a light cleaning with something simple like vinegar or baking soda, you’re good to go as soon as you've rinsed everything down and skimmed out any debris.
After a professional cleaning, however, there are a few more steps. When the Water Medic of Cape Coral team finishes a job, we don't just pack up and leave. We always re-test and rebalance your pool's water chemistry. We make sure the pH, alkalinity, and sanitizer levels are right where they need to be, so your water is perfectly safe and swim-ready the moment we're done.
Have more questions about keeping your pool in top shape? We've gathered even more expert answers in our comprehensive pool FAQs section.
Don't let ugly stains on your tile line take away from your backyard paradise. The team at Water Medic of Cape Coral has the right tools, experience, and techniques to bring back your pool's sparkle safely. Get in touch with us today for a free estimate and let us show you what a difference a professional cleaning can make. Visit us at https://watermedic.com.